
Quick-Release Lever Unit Disassembly & Assembly Guide (Laser Module & Cutting Module)
Bambu Lab H2D • Série Comercial H2
Quick-Release Lever Unit Disassembly & Assembly Guide (Laser Module & Cutting Module)
Quick-Release Lever Unit
This unit enables quick fixation of modules. The following demonstrates the disassembly and assembly process using the 40W Laser Module as an example, and this guide also applies to the Quick-Release Lever Units of both the Laser Module and Cutting Module.
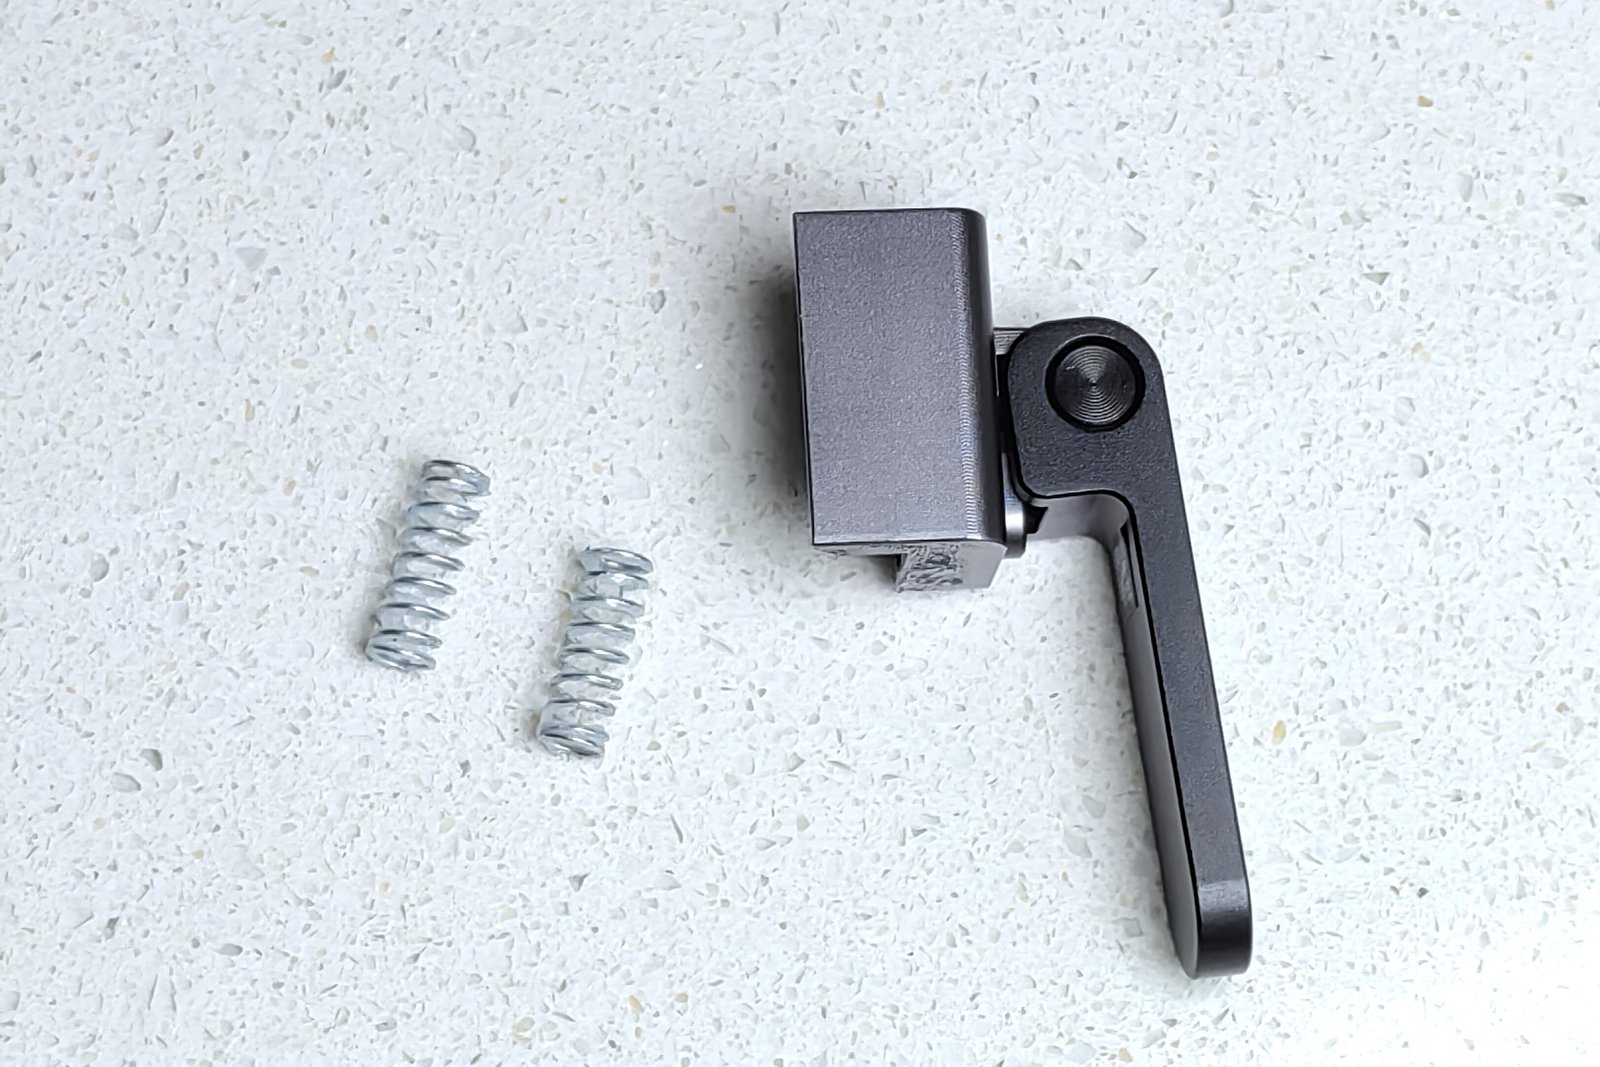
Tool List
H2.0 Hex key
Aviso de Segurança
It’s crucial to power off the printer before conducting any maintenance work, including work on the printer’s electronics and tool head wires. Performing tasks with the printer on can result in a short circuit, leading to electronic damage and safety hazards.
During maintenance or troubleshooting, you may need to disassemble parts, including the hotend. This exposes wires and electrical components that could short circuit if they contact each other, other metal, or electronic components while the printer is still on. This can result in damage to the printer’s electronics and additional issues.
Therefore, it’s crucial to turn off the printer and disconnect it from the power source before conducting any maintenance. This prevents short circuits or damage to the printer’s electronics, ensuring safe and effective maintenance. For any concerns or questions about following this guide, open a new ticket in our Support Page and we will do our best to respond promptly and provide the assistance you need.
Remove Guide
Passo 1. Disconnect the laser module from the toolhead and printer
Disconnect the connector with the toolhead, then disconnect the black air assisst tube on the coupler of the laser module.

Passo 2. Unlock the quick-release lever and remove the laser module
Unlock the quick-release lever. Then, slide the module all the way up to remove it.

Passo 3. Remove the quick-release lever unit
Push the quick-release lever down to expose the screw, loosen the screw and remove the quick-release lever unit and two springs.

Note: When removing the screw, press lightly and hold the unit to prevent it from popping out and falling off.
Install Guide
Passo 1. Place the springs
Place the springs into the two limit holes. Please do not wipe off the grease attached to the springs.

Passo 2. Install the quick-release lever unit
Align the limit holes of the quick-release lever unit with the spring and install the unit.

Press the unit down firmly by hand to expose the screw, then tighten the screw.

Note: There is no need to overtighten the screws
Passo 3. To verify completion/success
Properly installed unit:

Slide the module down along the toolhead’s guide track, ensure the module’s “Click” mark is aligned with the dented slot on the toolhead. Then, push the quick-release lever down to lock it.

To verify, push the locked laser module upward by hand. If there is no noticeable movement, the installation is successful. If noticeable looseness is present, the module is not not properly seated, which the screw may be insufficiently tightened. If the lever cannot be pressed down at all, the screws are likely over-tightened.
Notas Finais
Esperamos que o guia detalhado fornecido tenha sido útil e informativo.
If this guide does not solve your problem, please submit a chamado técnico, we will answer your questions and provide assistance.
If you have any suggestions or feedback on this Wiki, please leave a message in the comment area. Thank you for your support and attention!


