Live View Camera Replacement Guide
Bambu Lab H3C • Série Industrial H3
Live View Camera Replacement Guide
Live View Camera
The Live View Camera is installed on the crossbeam of the printer’s front left pillar. It allows you to view the printing process in real-time via Bambu Studio and Bambu Handy, and enables various intelligent detection functions.

When to Replace
- Abnormal image, such as blurriness, color blocks, etc.;
- Live View Camera error, and confirmed by technical support analysis;
- Obvious physical damage.
Tools and Materials
- H2.0 Allen key
- Tweezers
Safety Tips
Before performing any maintenance on the printer and its electronic components (including the Toolhead Cable), turn off the printer and disconnect the power supply to prevent accidental screen touches or short circuits, which could cause additional electronic damage and safety hazards.
When performing maintenance or troubleshooting on your printer, please first check the temperature of the hotend and heatbed. Avoid operating at high temperatures. If operating at high temperatures is unavoidable, wear insulated gloves to ensure safe and effective maintenance.
Disassembly and Assembly Tips
- Disassembly and assembly of the printer’s side panel requires the AMS 3H to be removed beforehand. Please refer to the WIKI: AMS 3H Removal and Installation Guide to remove and reinstall the AMS 3H from the printer. All operations in this guide are performed with the AMS 3H removed.
- Following the guide for replacing the side panel, lower the heatbed to the bottom before powering off.
How to remove the Live View Camera
Passo 1. Remove the Left Panel
Refer to WIKI: Left Panel Replacement Guide to remove the left panel.

Passo 2. Remove the Live View Camera
On the AP board, lift the connector cover and disconnect the Live View Camera ribbon cable from the connector.
 |
 |
Remove the ribbon cable along the wire hole. Pull it down along the cable’s path to the camera’s cross beam and separate the ribbon cable from the frame.
 |
 |
By reaching into the gap on the back of the camera inside the cavity and prying at it, the camera can be released from its fixation and removed.
 |
 |
How to install the Live View Camera
Passo 1. Install the Live View Camera
With the contact side facing up, thread the ribbon cable through the wire hole in the cross beam accessory. Then, slide the camera all the way to the corner of the cross beam to install it.
 |
 |
The Live View Camera has locking tabs on both ends, which secure the Live View Camera and also serve as an indicator for proper installation.

The following two images show the appearance difference of two confirmation positions on the front pillar before and after installation.
 |
 |
Thread the camera ribbon cable through the wire hole above. Pay attention to the area with protective tape and adjust the ribbon cable’s direction there to avoid damage.
 |
 |
Connect the ribbon cable to the AP board connector, ensure the white line is flush with the connector’s edge, then close the cover.
 |
|
Passo 2. Install the Left Panel
Please refer to the WIKI: Left Panel Replacement Guide to install the left panel and the front glass door.
Verify Functionality
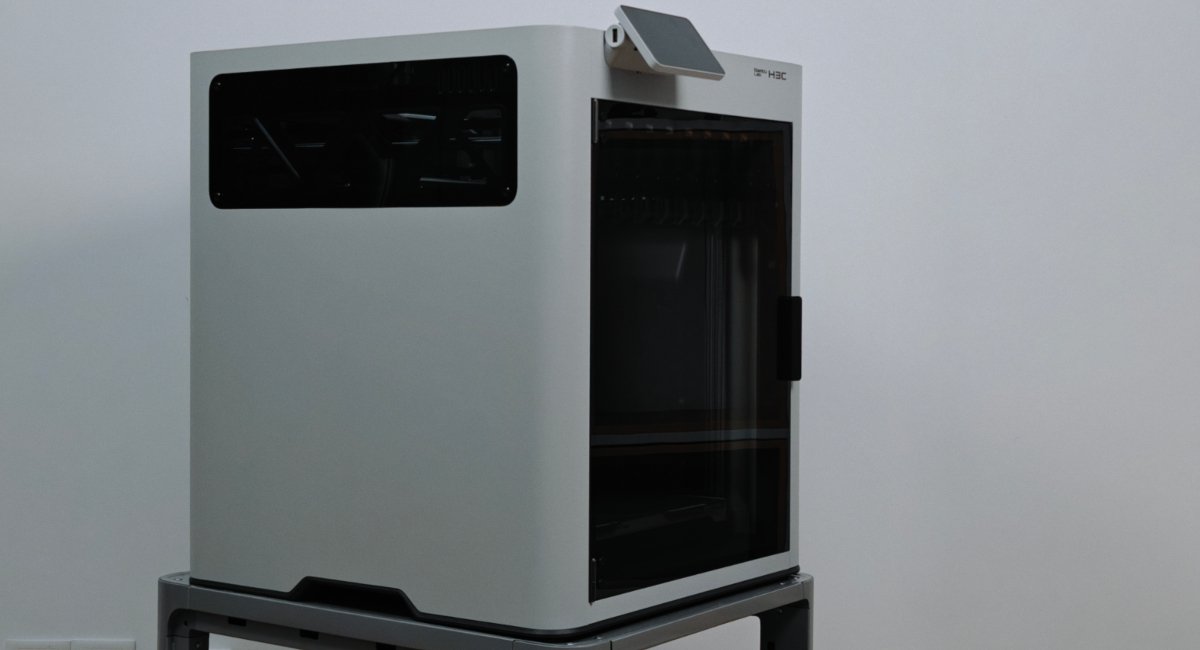
Turn on the printer, connect to it via the app or Studio, and open the Live View feed to confirm that the real-time image is visible and normal.
Notas Finais
We hope this guide has provided clear and practical support.
If the issue remains unresolved, please submit a support ticket and include your recent printer logs and additional pictures or other details. Our customer support team will review your request and provide detailed assistance.
You can also visit Bambu AI, which can instantly answer common questions and provide you with operational guidance.