
Touchscreen Replacement Guide
Bambu Lab H3C • Série Industrial H3
Touchscreen Replacement Guide
Screen and Screen FPC Cable

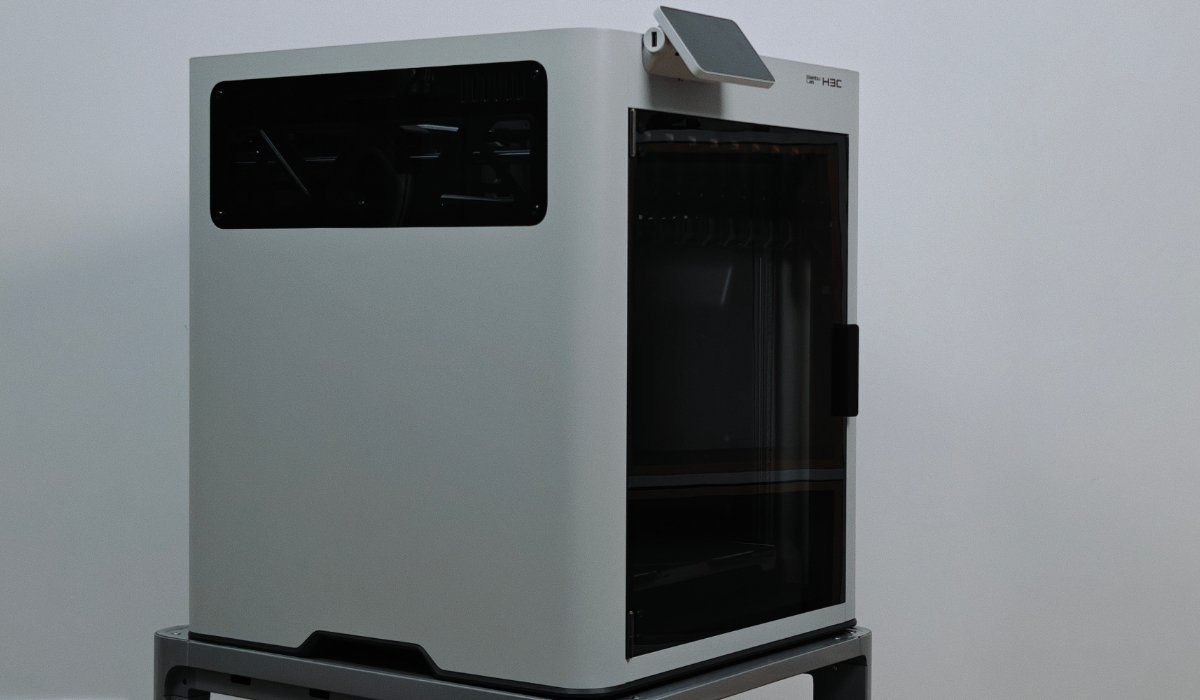
The H3C printer uses a 5-inch touchscreen to control the printer and view its working status. The screen FPC is a flexible cable that connects the screen to the AP board.
To resolve potential issues more efficiently, H3C’s screen accessories come with a screen FPC cable by default. Most of the time, it is not necessary to replace it. Consider replacing the screen cable only if the issue persists after replacing the screen.
When to Replace
Screen
- Screen glass damage;
- The display screen has malfunctions such as bright lines, patches, and flickering that affect the viewing experience;
- The screen displays a black/white screen or other unreadable content, but other functions are normal.
- Touch function is unresponsive with a normal connection;
- Structural damage that affects usability.
Screen FPC cable - Damaged connector plug
- FPC cable is damaged or broken
Tools and Materials
(To be used when replacing the Screen FPC)
- H2.0 Allen key
- H1.5 Allen key
- Tweezers
Safety Tips
Before performing any maintenance on the printer and its electronic components (including the Toolhead Cable), turn off the printer and disconnect the power supply to prevent accidental screen touches or short circuits, which could cause additional electronic damage and safety hazards.
When performing maintenance or troubleshooting on your printer, please first check the temperature of the hotend and heatbed. Avoid operating at high temperatures. If operating at high temperatures is unavoidable, wear insulated gloves to ensure safe and effective maintenance.
Remove the Screen
Passo 1. Unlock the Screen
Press the middle of the screen bracket pivot to unlock, and slide the screen to the left to release it from the front cover.

Passo 2. Disconnect the Screen FPC Cable
Press both sides of the screen FPC cable connector to unlock the connector and disconnect the FPC connection, then remove the screen.

How to install the Screen
Passo 1. Connect the Screen FPC Cable
Align the FPC plug with the connector on the screen, and apply even pressure on both sides of the plug to connect it to the connector.
 |
|
Passo 2. Install the Screen
Align the clips on the pivot with the mounting slots on the front cover for installation.

Then, slide the screen slightly to the right to lock it in place.

How to remove the Screen FPC Cable
Disassembly and Assembly Tips
- Disassembly and assembly of the printer’s side panel requires the AMS 3H to be removed beforehand. Please refer to the WIKI: AMS 3H Removal and Installation Guide to remove and reinstall the AMS 3H from the printer. All operations in this guide are performed with the AMS 3H removed.
- The removal steps begin with the screen already removed.
Passo 1. Remove the Left Panel
Refer to the WIKI: Left Panel Replacement Guide to remove the front door and left panel.

Passo 2. Remove Front Cover
Refer to the WIKI: Front Cover Replacement Guide to remove the front cover.

Passo 3. Remove the Screen FPC Cable
On the AP board, lift the connector cover, slide out the Screen FPC cable from the connector, then pull the Screen FPC cable towards the printer’s front door to remove it.
 |
 |
Install the Screen FPC Cable
Passo 1. Install the Screen FPC Cable
Thread the end of the screen FPC cable without a plug through the cable guide hole on the frame, and connect it to the connector with the contact side facing the AP board. After confirming the cable is properly seated (the first white line is flush with the connector edge), close the cover.
 |
 |
Passo 2. Install the Front Cover
Refer to the WIKI: Front Cover Replacement Guide to install the front cover and screen (the screen function can be checked after installation).
Passo 3. Install the Left Panel and Glass Front Door
Refer to the WIKI: Left Panel Replacement Guide to install the Left Panel and the Front Door.
Verify Functionality
Connect the power cable and turn on the printer. Watch and operate on the screen to confirm that both screen display and touch functions are normal.
Notas Finais
We hope this guide has provided clear and practical support.
If the issue remains unresolved, please submit a support ticket and include your recent printer logs and additional pictures or other details. Our customer support team will review your request and provide detailed assistance.
You can also visit Bambu AI, which can instantly answer common questions and provide you with operational guidance.


